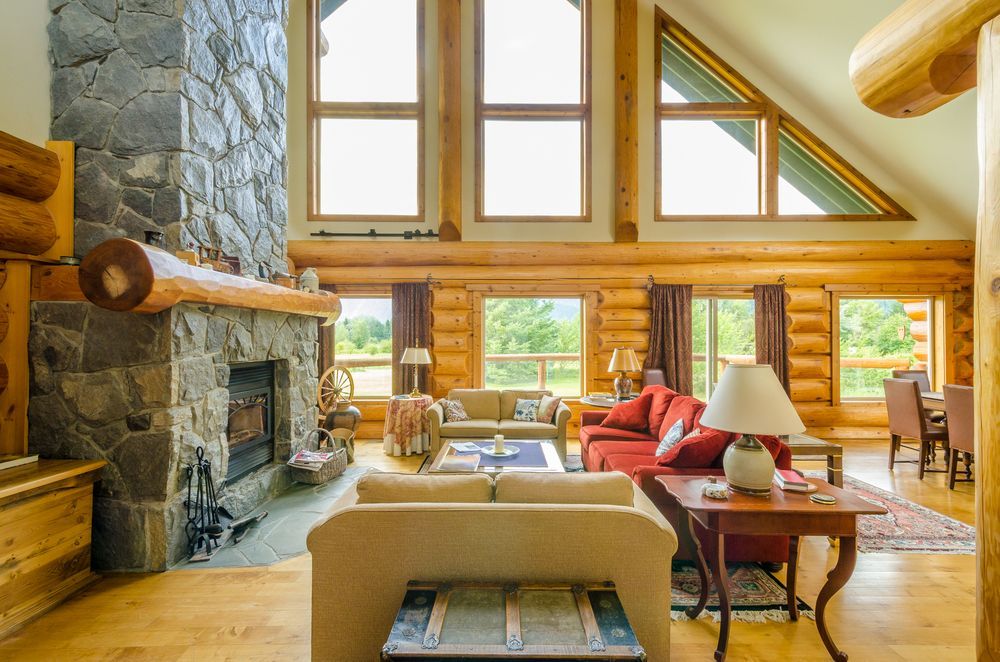
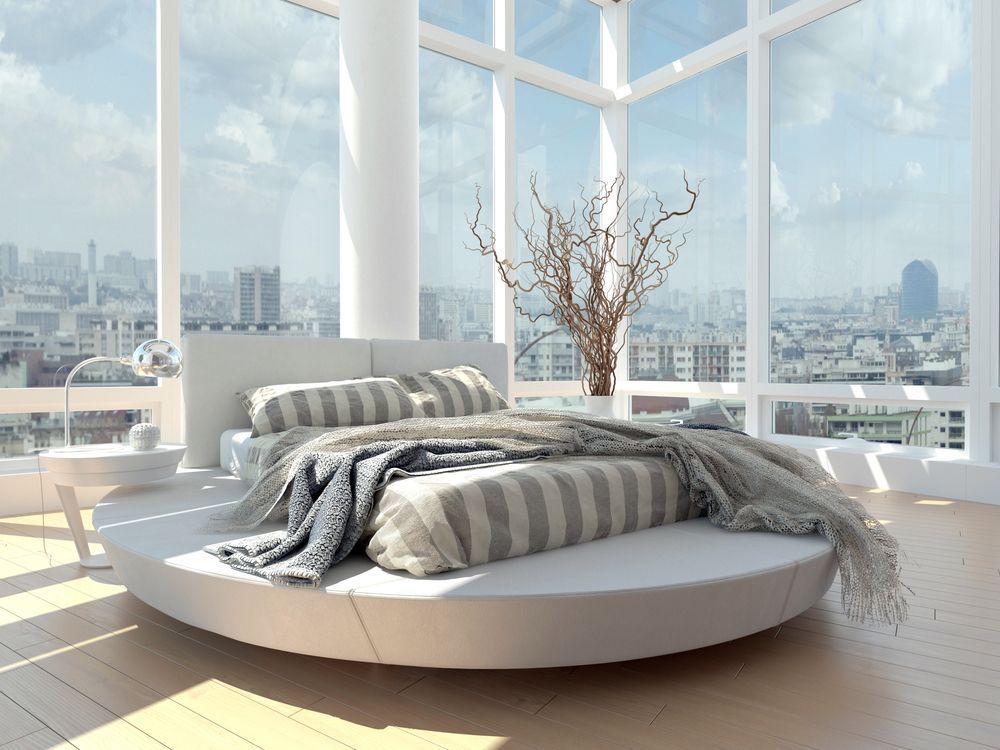
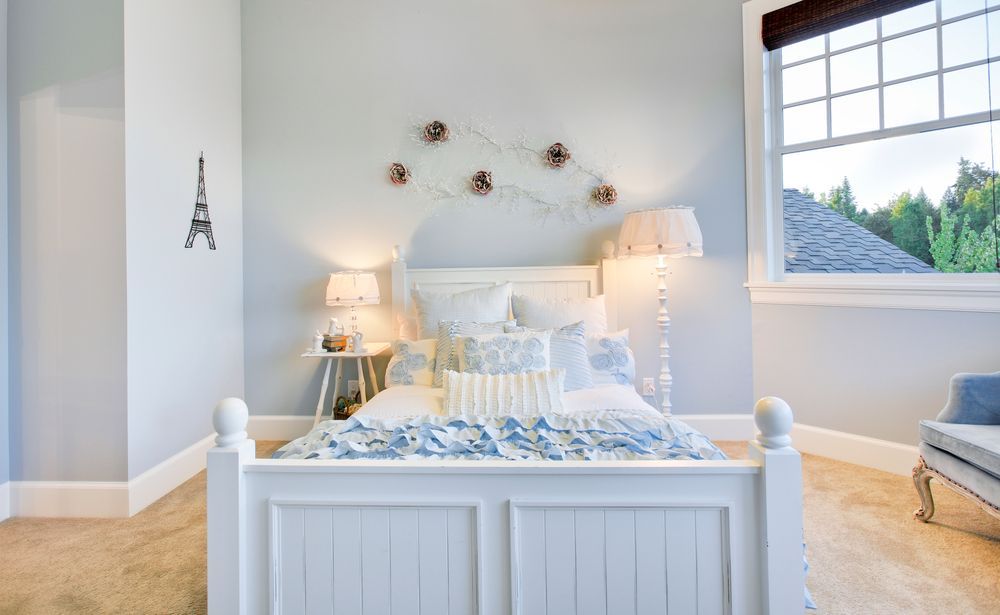
No picture will match what a property is like in reality, but given the majority of house searches begin online these days, you can’t afford to use poor images and hope people decide to visit regardless! This is harder than it seems, as not everyone can take a good picture. So, give house-hunters a compelling reason to arrange a viewing by making your home look its absolute best.
1. Call in the professionals! Estate agents either know how to take the right image or they commission a photographer who does. They also know which areas of your home to put in the spotlight as they will have an idea of the type of buyer your property will attract.
2. Prepare your home first. Before anyone photographs your rooms, make them look their best – dirty dishes in the sink or mucky floors will still be present in a good photo! A thorough clean and declutter will showcase the space rather than your personal items and furniture.
3. Soften your rooms with flowers. Thoughtfully placed vases full of flowers can add a welcome splash of colour or a touch of elegance. Flowers are a good reminder that that not all items are clutter; arrangements can give an impression of delicate fragrances and a loved home.
.jpg)
4. The right equipment will make all the difference. Although iPhones can take fantastic images, you can do so much more with a digital camera. In addition, tripods hold the camera steady and remove any chance of a shaky hand and a blurry photo.
5. Following some basic principles of photography will result in fantastic images. Think about framing your image; symmetry is often appealing, so avoid unbalanced photos with bare spaces on one side and chaotic furniture on the other. Think about the angle too; you can create a journey through your house by keeping a living room in the foreground and drawing the eye outside to patio space, for example. Although cropping shouldn’t compromise the honesty of an image, it may be that removing a distraction will make better images.

6. Natural light is your friend. Rather than bright overhead ceiling or wall-mounted lights which cast a variety of often unflattering shadows, natural light will work better and will give your home a light, spacious feel. Interior design photographs are often a fair guide to good aesthetics, so take a look at the lighting they use and follow some of the current trends.

7. Choose the right time of day: morning or early afternoon are the best times as the light will be lower and softer. Experimenting at different hours by yourself, ahead of any professional shots, is a good way to explore the different feels lighting can give your home.
Like this post? Read more about preparing your home for sale here.
8. Find the optimal angle. Wider shots from a kneeling angle will reduce the amount of floor or ceiling you typically get in a photo taken from a standing position, after all, these are hardly the focal points. If you do take wider shots, avoid the distorted fishbowl effect as it has an untrustworthy feel.

9. A few detail shots would be ideal for conveying the character of the house; focus on a cornice or unique fireplace, perhaps. A few artful photos will give your property a magazine feature feel and entice viewers. Make sure there is a balance though – all feature shots can be frustrating since they don’t give an accurate or very realistic impression of your home when viewed alone.
10. The features included should be carefully considered – not all need to be photographed. Ceiling fans are good example of an unnecessary inclusion: they aren’t a fixed feature and if the buyer doesn’t like them they can be removed, so don’t put them off before they have a chance to view the property!
